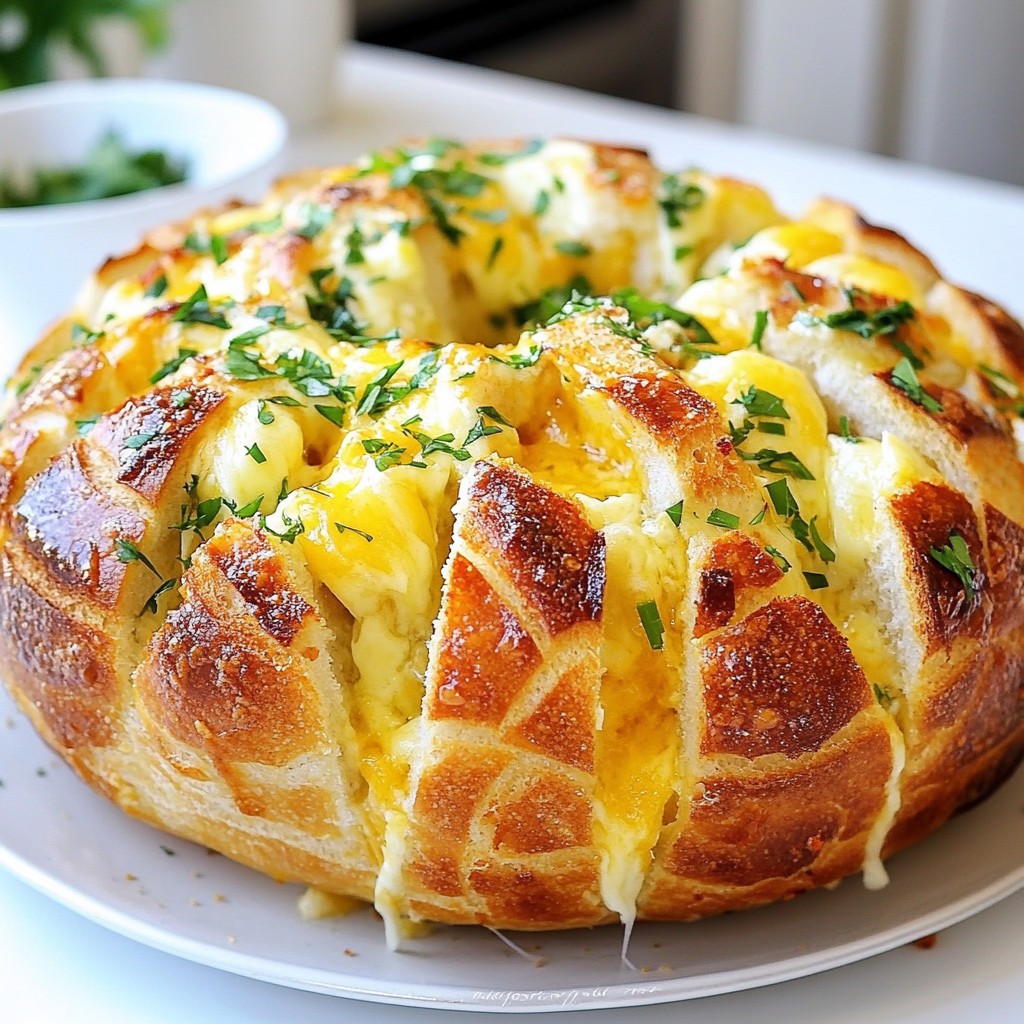
Are you ready to indulge in a warm, cheesy delight? My Cheesy Pull-Apart Garlic Bread is both flavorful and irresistible. With gooey cheese and a hint of garlic, this dish is perfect for any meal or snack. Follow my simple step-by-step guide to create the ultimate cheesy bread experience. Trust me, your taste buds will thank you as you pull apart each piece packed with flavor! Let’s dive in!
Why I Love This Recipe
- Cheesy Delight: This recipe combines two types of cheese for a melty, gooey experience that everyone loves.
- Garlic Goodness: The fresh garlic and parsley elevate the flavor, making each bite aromatic and delicious.
- Easy to Share: Perfect for gatherings, this pull-apart bread encourages sharing and brings people together.
- Customizable: Feel free to add your favorite herbs or spices, making it a versatile dish for any palate.
Ingredients
Main Ingredients
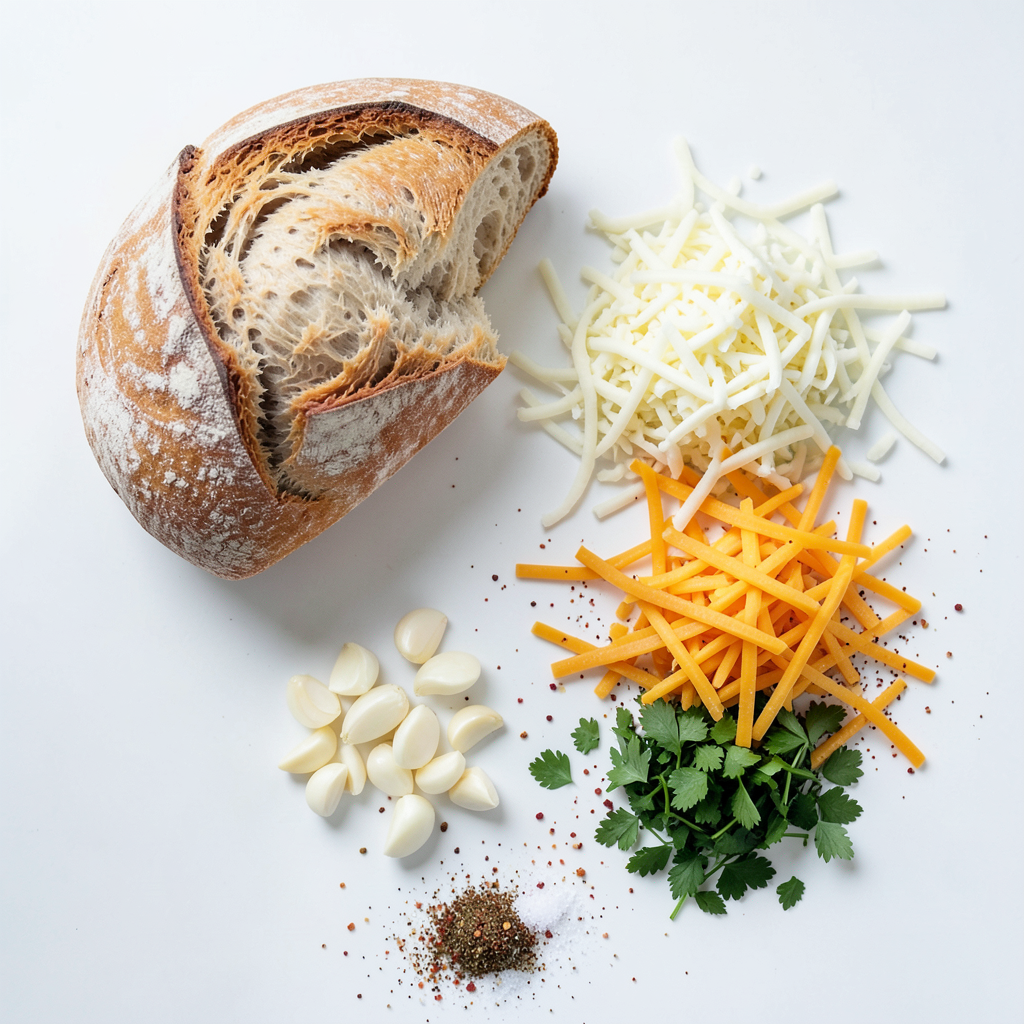
- 1 large loaf of Italian or French bread
- 1 cup shredded mozzarella cheese
- 1 cup shredded cheddar cheese
Flavor Enhancers
- 4 tablespoons unsalted butter, melted
- 4 cloves garlic, minced
- 2 tablespoons fresh parsley, chopped
- 1 teaspoon Italian seasoning
- Salt to taste
Optional Add-ins
- 1/4 teaspoon red pepper flakes for a spicy kick
Let's dive into the ingredients you need for this cheesy pull-apart garlic bread. First, choose a large loaf of either Italian or French bread. This bread provides a great base for all those delicious flavors. Next, gather your cheese. You'll need a cup each of mozzarella and cheddar cheese. This combo gives you that gooey, melty texture we all love.
Next, we need to enhance those flavors. You will melt four tablespoons of unsalted butter. This will blend with four cloves of minced garlic, two tablespoons of chopped fresh parsley, and one teaspoon of Italian seasoning. This mix adds richness and a lovely aroma. Don't forget salt to taste; it boosts all the flavors.
If you want to add a bit of heat, consider using optional red pepper flakes. Just 1/4 teaspoon can give your bread a fun kick. With these ingredients, you're ready to make this irresistible dish!
Step-by-Step Instructions
Preparation Steps
- Preheat the oven to 375°F (190°C).
- In a small bowl, mix 4 tablespoons of melted butter, 4 minced garlic cloves, 2 tablespoons of chopped parsley, 1 teaspoon of Italian seasoning, and salt. Stir until it blends well.
Cutting the Bread
- Take a large loaf of Italian or French bread. Using a serrated knife, slice it in a crosshatch pattern. Make cuts about 1 inch apart. Cut deep, but do not slice all the way through. This helps the bread hold its shape.
Assembling the Bread
- Place the loaf on aluminum foil. Carefully open the cuts a little. This creates spaces for the cheese and garlic mixture.
- Drizzle the garlic butter mixture into each cut. Make sure it seeps into the bread.
- Stuff the cuts with 1 cup each of shredded mozzarella and cheddar cheese. Pack it in well for maximum flavor.
- If you like a spicy kick, sprinkle 1/4 teaspoon of red pepper flakes over the top.
- Wrap the loaf tightly in aluminum foil. Place it on a baking sheet and get ready to bake.
Tips & Tricks
Achieving Perfect Flavor
- Minding the garlic proportions. Use four cloves for a strong garlic taste. If you love garlic, feel free to add more. Just remember, too much can overpower the bread.
- Cheese selection tips for best melt. I recommend using both mozzarella and cheddar. Mozzarella gives that stretchy, gooey texture. Cheddar adds a sharp flavor. Mixing these two creates a perfect balance.
Baking Tips
- Maintaining moisture during baking. Wrap your bread tightly in foil. This keeps it soft while baking. The steam from the bread helps melt the cheese perfectly.
- Techniques for achieving a golden crust. Unwrap the bread for the last 10 minutes. This will help the top crisp up and turn golden brown. Keep an eye on it to avoid burning!
Serving Suggestions
- Ideal side dishes and pairings. This cheesy bread pairs well with soups or salads. Try serving it alongside a hearty tomato soup or a fresh garden salad. You can even enjoy it as a snack on its own!
Pro Tips
- Use Fresh Ingredients: For the best flavor, use fresh garlic and parsley. Dried herbs can be substituted but won't deliver the same punch.
- Experiment with Cheeses: While mozzarella and cheddar are classic choices, feel free to mix in other cheeses like gouda or parmesan for a unique flavor profile.
- Customize the Spice Level: Adjust the amount of red pepper flakes based on your preference for heat. You can also add some cayenne pepper for an extra kick.
- Serve Immediately: This bread is best enjoyed fresh out of the oven while the cheese is still gooey and the bread is warm and crispy.
Variations
Cheesy Pull-Apart Bread Variations
You have many options to make this cheesy pull-apart bread your own. First, think about cheese. While mozzarella and cheddar are great, you can try others too. Go for pepper jack for heat or gouda for a smoky flavor.
Next, add herbs and spices. Fresh basil or thyme can brighten the taste. For a bolder flavor, consider using rosemary or even dill. Mixing herbs can create unique blends that surprise your taste buds.
Dietary Adaptations
If you need gluten-free options, choose gluten-free bread. Many brands offer tasty gluten-free loaves. They work well in this recipe, ensuring everyone can enjoy it.
For vegan options, use dairy-free cheese. Brands like Daiya or Violife melt well and taste great. You can also replace butter with vegan margarine or olive oil for a rich flavor.
Spicy and Savory Options
Want to add some heat? Incorporate jalapeños for a spicy kick. Slice them thin and add them to the cheese layers. You can also mix in cooked onions for a savory touch. Both options take this bread to the next level. Enjoy experimenting with flavors!
Storage Info
Short-Term Storage
To keep your cheesy pull-apart garlic bread fresh, store it in an airtight container. This helps protect it from drying out. You can also wrap it tightly in plastic wrap or foil. Place it at room temperature for up to two days. If you want to keep it longer, consider refrigerating it. However, this may change the texture.
Long-Term Storage
For long-term storage, freezing is the best option. Wrap the bread tightly in plastic wrap, then in foil. This protects it from freezer burn. You can freeze it for up to three months. When you are ready to eat, just thaw it in the fridge overnight.
Reheating Instructions
To reheat your cheesy pull-apart garlic bread, preheat the oven to 350°F (175°C). Remove the wrapping and place the bread on a baking sheet. Heat for about 10-15 minutes until the cheese is melted. This method helps keep the bread soft and the cheese gooey. You can also microwave individual pieces for about 30 seconds. However, this might make the bread a bit chewy.
FAQs
Common Questions
Can I use frozen bread for this recipe? Yes, you can use frozen bread. Just let it thaw first. This helps the bread warm up and absorb the flavors better.
How can I make the bread ahead of time? You can prepare the bread up to the baking step. Wrap it well and store it in the fridge. When you are ready, bake it straight from the fridge.
What can I serve with cheesy pull-apart garlic bread? This bread pairs well with soups, salads, or pasta. You can also serve it as a fun snack at parties.
Troubleshooting Tips
What to do if cheese doesn't melt properly? If the cheese doesn't melt, cover the bread with foil while baking. This traps heat and helps it melt.
How to fix overly dry bread? If your bread is too dry, brush it with more garlic butter before baking. You can also add a bit of water to the foil wrapper to create steam.
Ingredient Alternatives
What can I substitute for parsley? You can use fresh basil or oregano instead of parsley. Both add great flavor.
Can I omit garlic if I don't like it? Yes, you can leave out the garlic. You might want to add extra herbs for flavor.
In this post, we explored the tasty world of cheesy pull-apart garlic bread. We outlined the key ingredients, from cheeses to flavor enhancers. I shared steps for perfect preparation and baking tips to ensure delicious results. You can customize the recipe with unique variations for all diets. Remember, enjoy this dish fresh or stored correctly for later. With simple swaps and careful steps, you can make this dish your own. Grab your bread and get baking!